Settings & Configuration
Complete guide to Kensaku AI settings - manage your account, billing, credits, API keys, and WordPress site integrations.
Overview
The Settings section allows you to manage your Kensaku AI account, including profile information, billing, API keys, and WordPress integrations.
Profile Settings
Manage your personal account information.
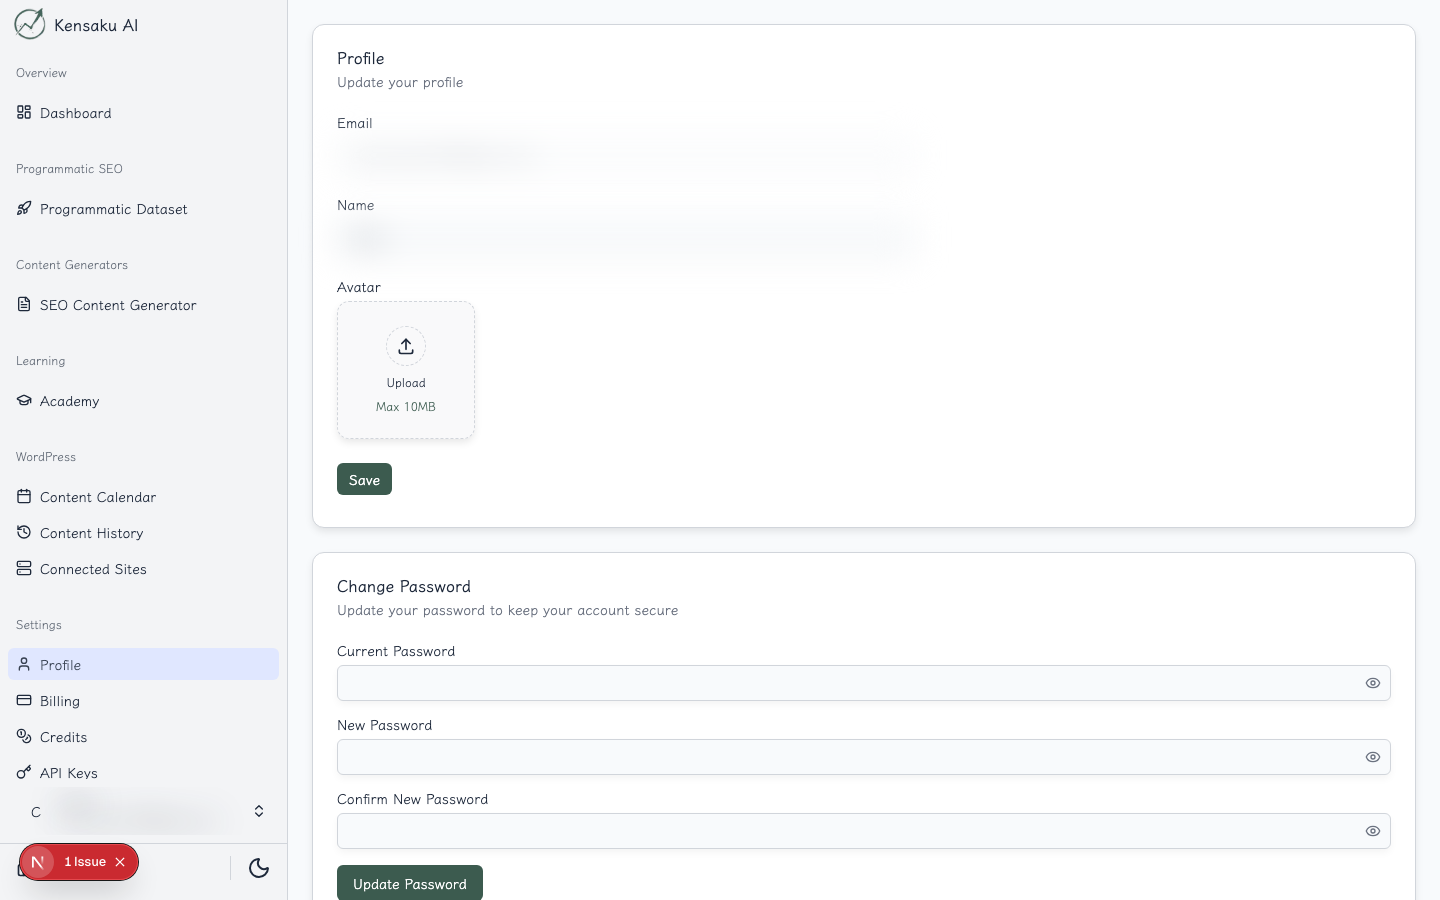
Profile Options
- Email: Your account email (cannot be changed)
- Name: Your display name
- Avatar: Upload a profile picture
- Password: Change your account password
Security
Access security settings to:
- Reset your password
- Delete your account (permanent action)
Billing
Manage your subscription and payment information.
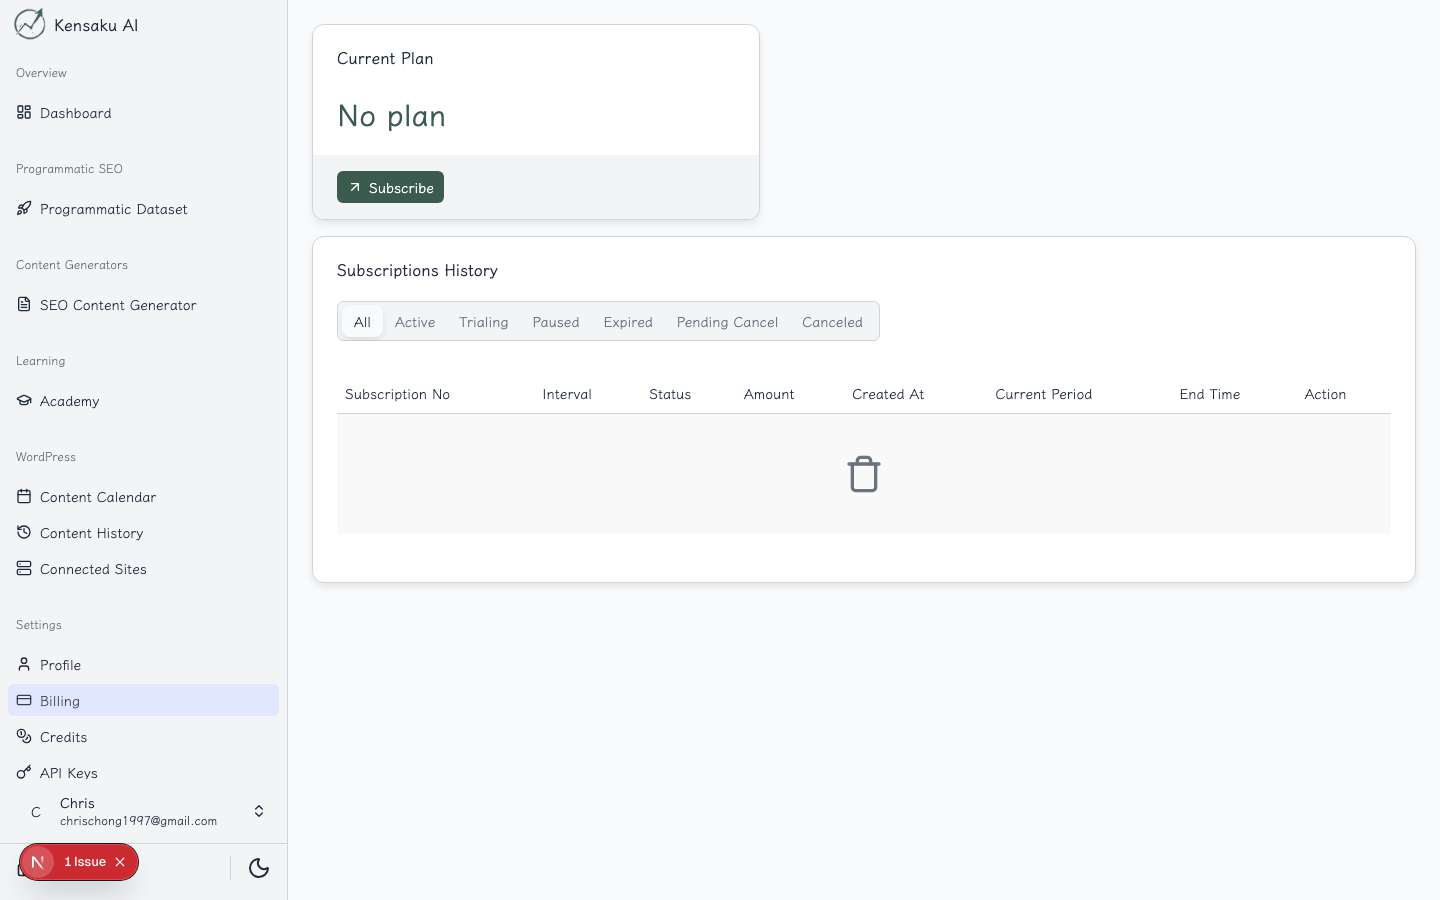
Subscription Management
View and manage your subscription:
- Current Plan: See your active subscription
- Billing Cycle: Monthly or annual billing
- Next Renewal: Upcoming payment date
- Payment Method: Update card on file
Subscription Actions
- Upgrade/Downgrade: Change your plan
- Cancel: End your subscription
- View Invoices: Access billing history
Credits
Track your credit usage and purchase additional credits.
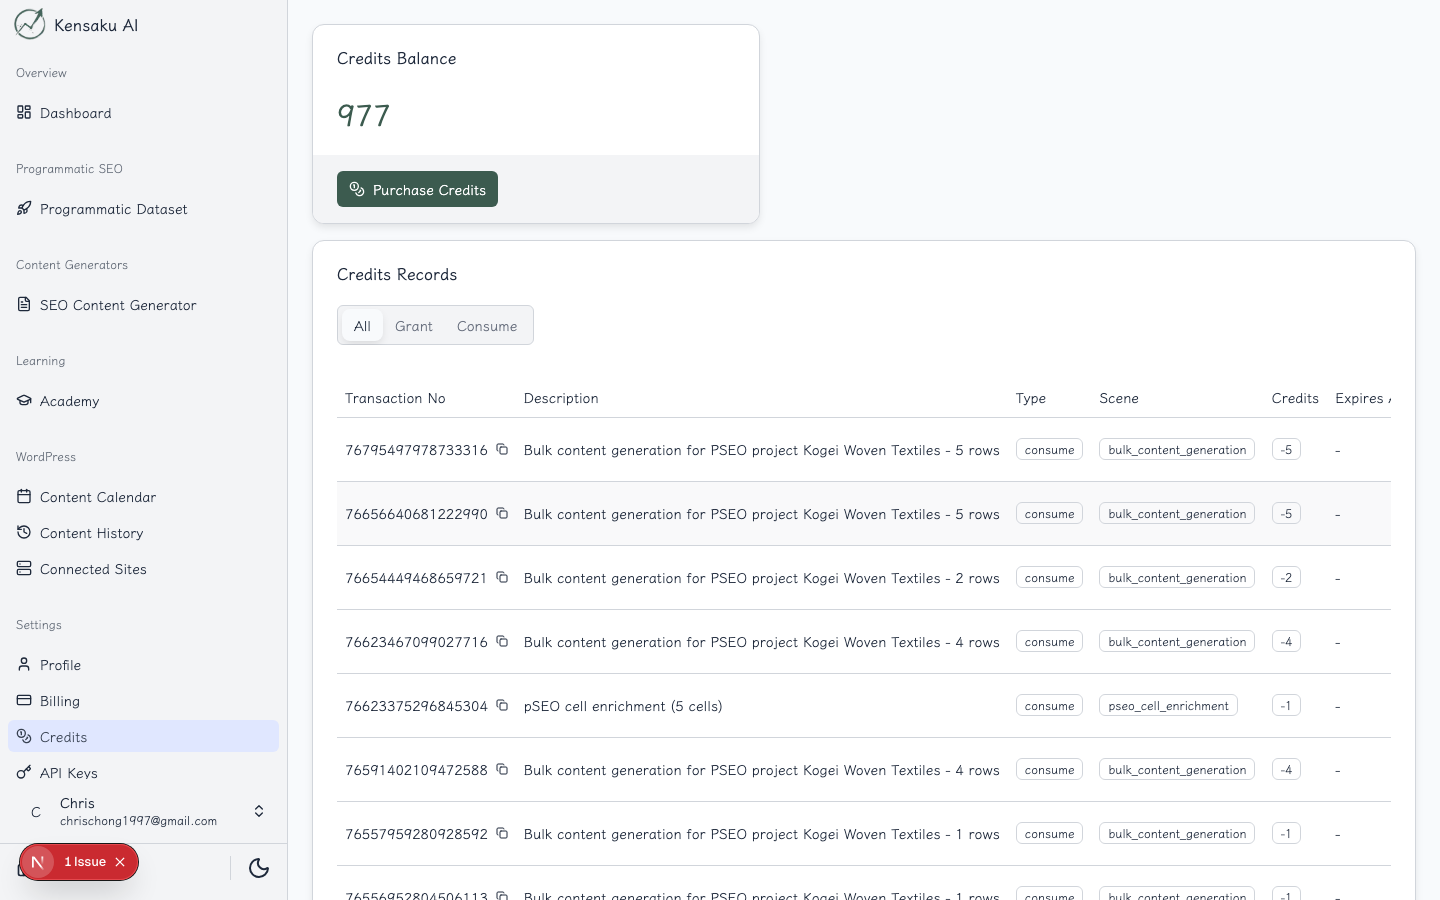
Credit Information
- Balance: Current available credits
- Usage History: Track consumption over time
- Transaction Log: View all credit activities
Transaction Types
| Type | Description |
|---|---|
| Grant | Credits added (purchase, bonus) |
| Consume | Credits used for AI tasks |
Purchasing Credits
Click "Purchase" to buy additional credits:
- Select credit package
- Complete payment
- Credits added instantly
API Keys
Manage programmatic access to Kensaku AI.
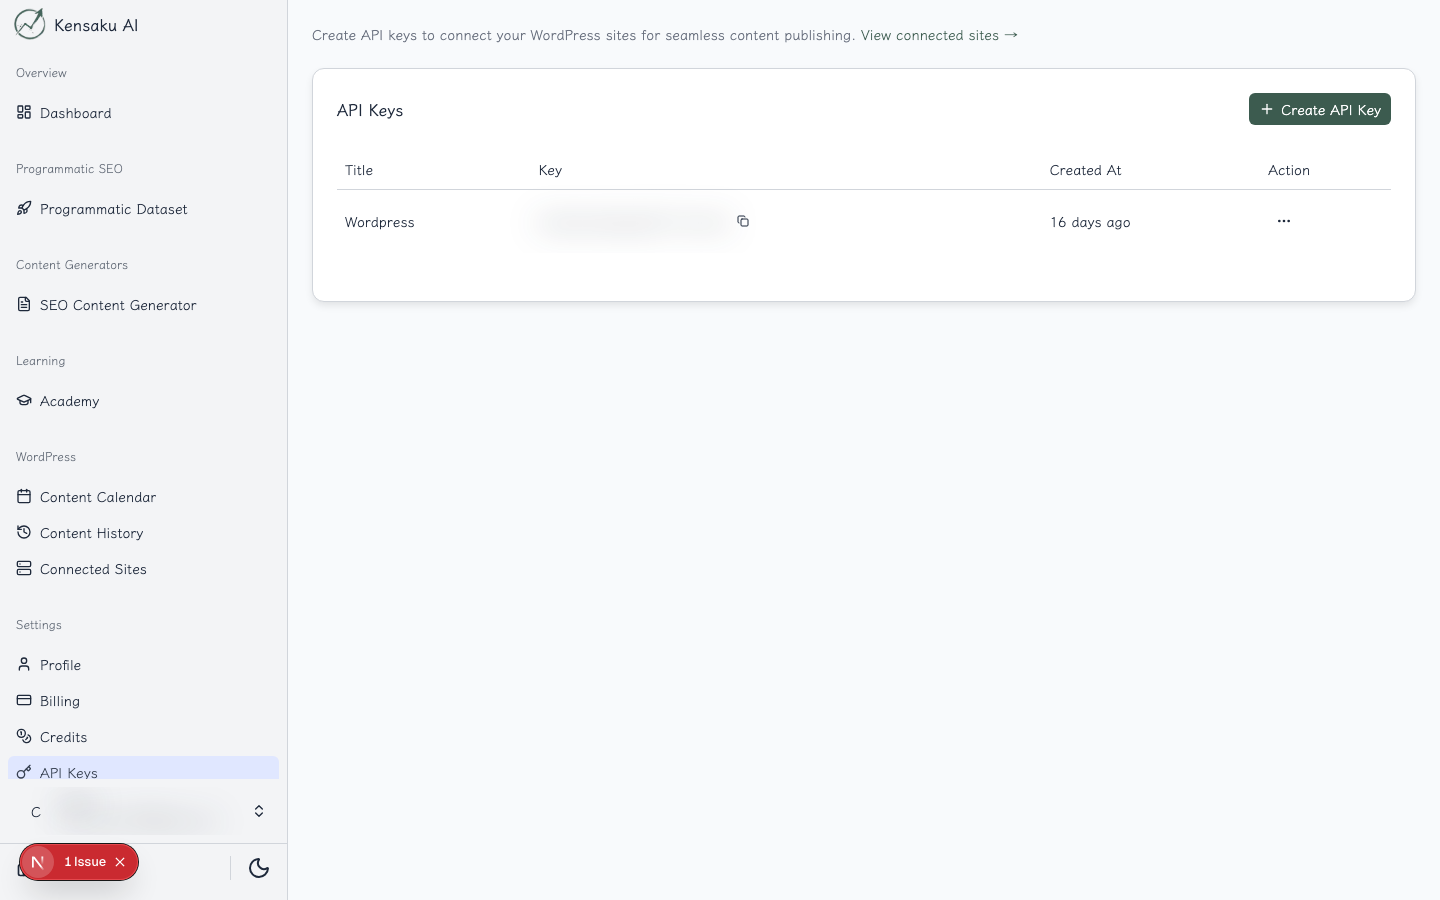
Creating API Keys
- Click "Add API Key"
- Enter a descriptive title
- Save to generate the key
- Copy and store securely (shown only once)
Managing Keys
- View Keys: See all active API keys
- Edit: Update key titles
- Delete: Revoke access
API Usage
Use API keys for:
- Programmatic content generation
- WordPress plugin authentication
- Third-party integrations
- Automation workflows
WordPress Sites
Connect and manage WordPress installations.
Connecting a Site
Follow these steps to connect a WordPress site:
- Install Plugin: Download and install the Kensaku AI WordPress plugin
- Generate API Key: Create an API key in Kensaku AI
- Configure Plugin: Enter your API key in WordPress
- Verify Connection: Test the connection from both ends
- Select Post Type: Choose where to publish (posts, pages, custom)
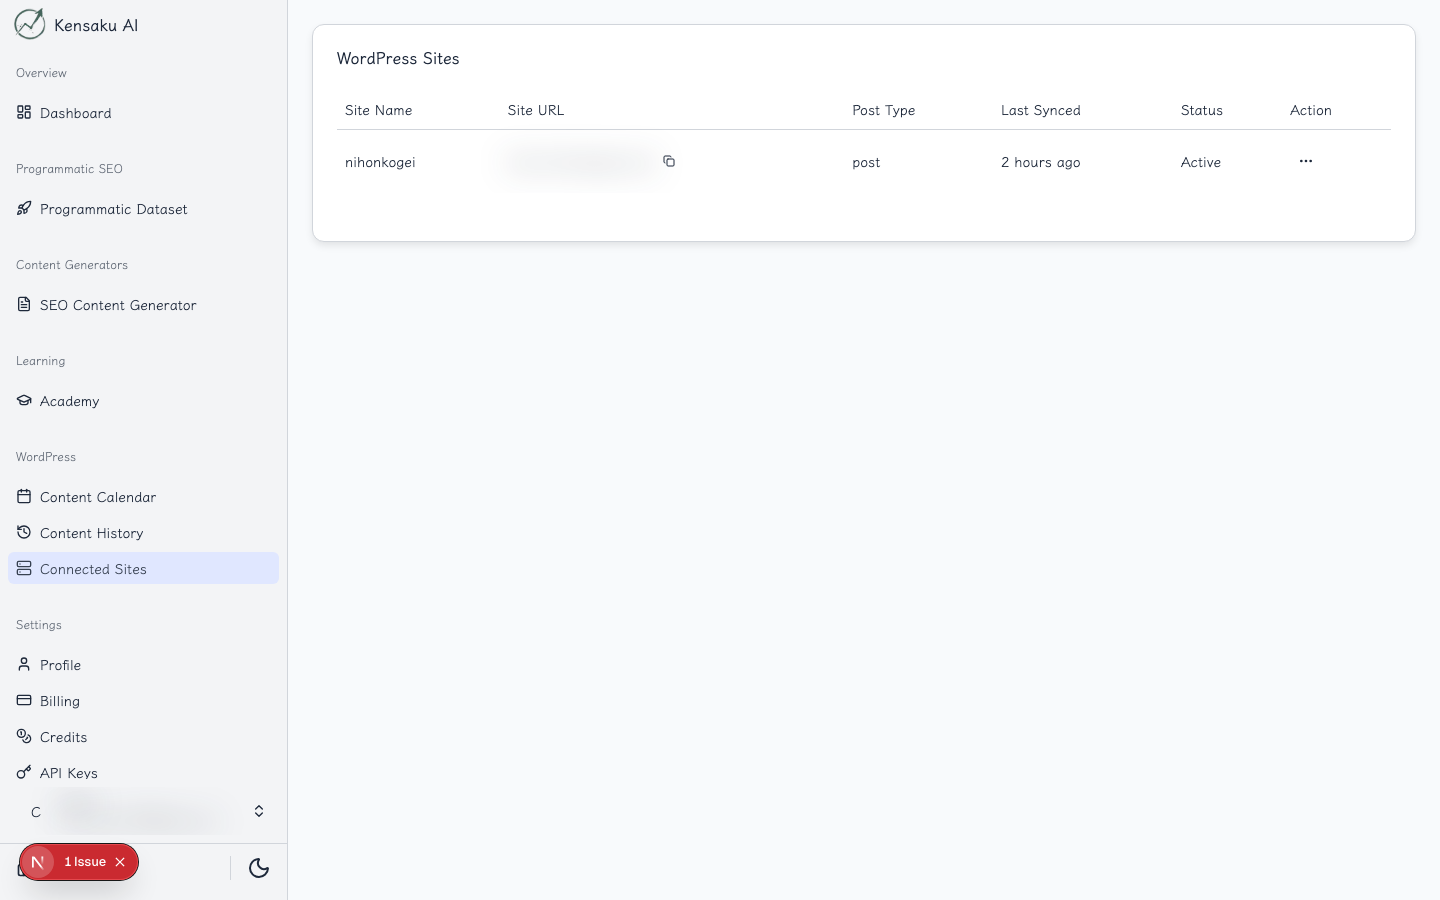
Site Information
For each connected site:
- Site Name: WordPress site title
- Site URL: Website address
- Post Type: Default content type
- Last Synced: Most recent sync time
- Status: Connection status
Managing Sites
- Disconnect: Remove a site connection
- Update Settings: Change post type or configuration
- Force Sync: Manually trigger synchronization
Troubleshooting Connections
If connection issues occur:
- Verify API key is correct
- Check WordPress plugin is active
- Ensure site is publicly accessible
- Review firewall settings
- Contact support if issues persist
Account Security
Password Management
- Use strong, unique passwords
- Enable two-factor authentication (when available)
- Regularly update your password
API Key Security
- Never share API keys publicly
- Rotate keys periodically
- Delete unused keys
- Monitor for unauthorized usage
Ready to Scale Your Content?
100+ pages in 1 click with Kensaku AI. Start your programmatic SEO campaign today.